Rules for hatching goslings in an incubator at home and a temperature table
Breeding poultry in an incubator is difficult and troublesome. Without appropriate knowledge and even a little experience, nothing can come of it. Consider the rules for hatching goslings in an incubator at home, especially the preparation of eggs, their storage, the correct incubation conditions, the sequence of the process, the timing of when the goslings can hatch.
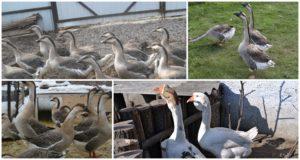
Preparing the geese
The goose from which it is planned to obtain eggs for incubation must be properly fed. The feed should be saturated with nutrients, minerals, vitamins, calcium. If the feeding is inadequate or inadequate, the birds cannot be expected to produce quality eggs suitable for incubation. Weak and non-viable goslings will appear from them, despite the fact that everything was done correctly.
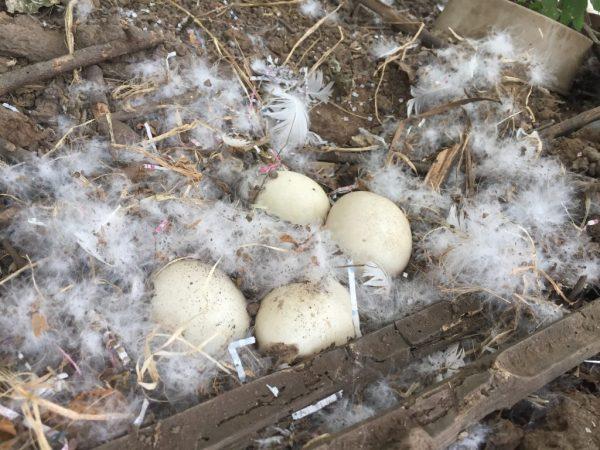
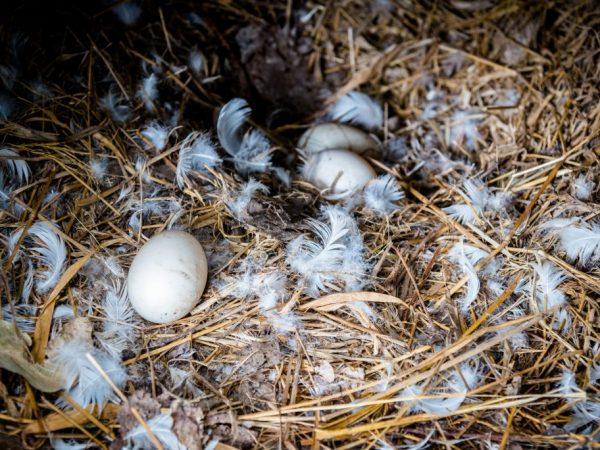
Geese should rush in clean nests, where they will be comfortable and free. They need to be covered with straw or hay. Eggs should be chosen every day. Geese rush mainly in the morning, during the day you need to check the nests and select eggs, in the evening check that there is nothing left. Often geese hide their eggs under a layer of fluff, so you need to check everything carefully. You need to take raw materials every day, since only in this case the geese continue to rush. If the eggs are left in the nest, the female can sit on them on her own.
How to choose eggs?
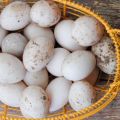
Sort the material immediately after collection. For the incubator, select large and medium-sized eggs of the correct shape. With a dense, whole shell, on which there should be no sagging, spots, cracks. Too small, with defects, old ones are not suitable for laying, weak goslings will hatch from them, which will hurt. Or the chicks won't hatch at all.
Ovoscope application
All the material that has passed the first stage of selection must be enlightened on an ovoscope. Inside, there should be no dark spots, inclusions, the yolk should be centered. All eggs with defects are not suitable for incubation.
Disinfection of raw materials
Disinfection increases the hatch rate of chicks and maintains their health. The need for this procedure is explained by the fact that viruses and bacteria remain on the surface of the shell, which during incubation can penetrate into the middle and destroy the embryo. The material can be disinfected in 3 ways: with a solution of hydrogen peroxide, potassium permanganate or vinegar.
The incubator must also be disinfected. First rinse all removable parts, wipe them with peroxide or potassium permanganate solution, wipe again with clean water and dry well. After each laying of a new batch of eggs, the incubator must be cleaned and disinfected, otherwise it will become a breeding ground for infections.
Storage of eggs during the accumulation of raw materials
The shelf life of the incubation material is no more than 7 days. They need to be stored at a temperature of 6-12 ° C and a humidity of 70%, decomposed into 1 layer. You cannot store in the refrigerator; it is better to choose a cool room for this.

How to incubate eggs
For everything to go smoothly, you need to follow the rules of incubation. And also to avoid basic mistakes that can lead to the death of embryos.
Major mistakes
If incubation occurs at a temperature that exceeds the allowable temperature, the goslings are hatched earlier than necessary. They have thin legs, weak pubescence. If the overheating is strong, the chicks may not hatch at all. At low temperatures, goslings emerge later than the established date, some of them peck, but do not emerge from the egg. Those that have appeared have thick legs and long down. This means that they are more developed than necessary.
Due to a lack of moisture, the chicks hatch weak, they cannot peck the shell and leave the egg. And due to irregular turning of eggs during incubation, the embryo may not develop, because it is stuck to one of the walls. To remove goslings without loss, you must constantly monitor the temperature, humidity, turn over and cool them.
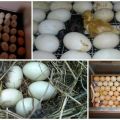
How to lay eggs
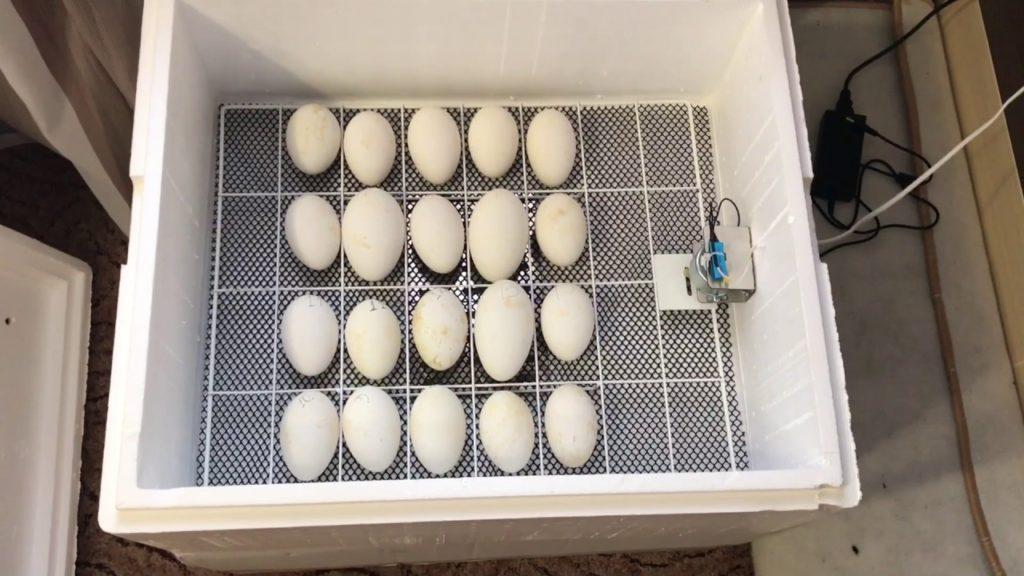
Before laying the eggs, you need to properly warm them up - keep them in the room for 8 hours. Cold ones cannot be laid, they are covered with condensate, which clogs the pores, and the embryo suffocates. If the material is not the same size, then first you need to put large eggs, medium in size after 4 hours. This is due to the fact that in large eggs, the development of goslings takes longer. The time difference is necessary in order for the excretion to be simultaneous. Goose eggs are placed horizontally in the incubator.
Incubation periods
The incubation period is divided into 5 parts. During each, you need to maintain a certain temperature and humidity, turn and cool the material.
| Period (in days) | Temperature | Humidity | Cooling | Spraying | Turn |
| 1-8 | 37.7 ° C | 55% | not | not | 5 times |
| 9-15 | 37.7 ° C | 47% | not | not | 4 times |
| 16-27 | 37.7 ° C | 47% | 2 times a day for 15-20 minutes | 2 times a day | 4 times |
| 28 | 37 ° C | 85% | 2 times a day for 15-20 minutes | 2 times a day | not |
| 29-30 | 37 ° C | 85% | 2 times a day for 15-20 minutes | 2 times a day | not |

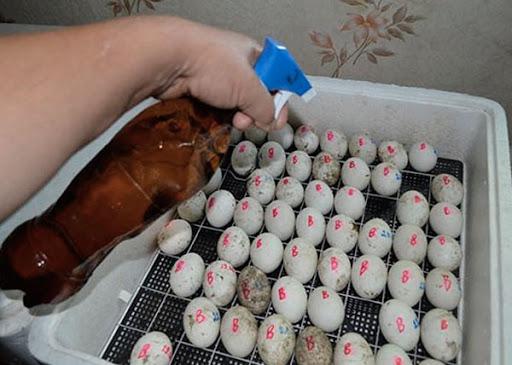
Turning over and spraying masonry
Turning goose eggs is necessary so that the embryos do not stick to the shell. In the first week, this should be done often - 5 times a day, then the number of flips should be reduced to 4 times. Before hatching, starting from the 28th day, it is no longer necessary to turn over.
To breed goslings without loss, refrigerate and spray them starting from the 16th day of incubation. Cool for 20 minutes 2 times a day, spray also 2 times. Spray with cool water, not cold.
Temperature, ventilation and humidity
The temperature regime during incubation of goslings remains almost the same - from the 1st to the 28th day the temperature is 37.7 ° С, from the 28th to hatching - 37 ° С. Humidity is not so simple. In the first week it is 55%, from the 9th to the 28th day - 47%. During the last 3 days of incubation, the humidity must be maintained at 85%.
It is important to precisely adhere to the incubation parameters; if any of them is violated, the embryos may die.
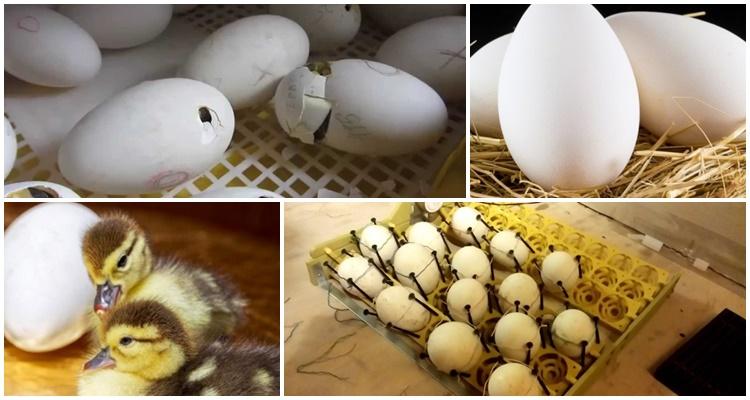
Hatching dates
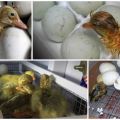
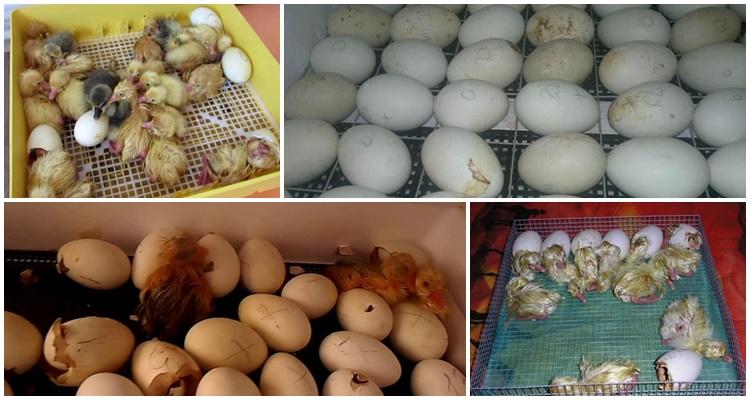
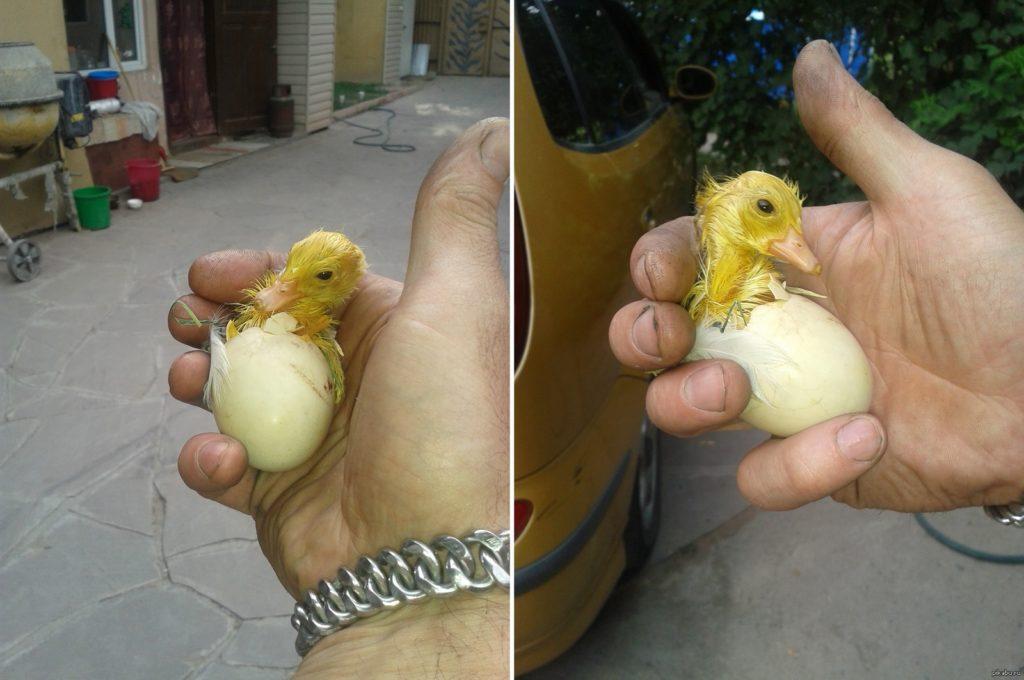
Hatching goslings occurs on the 29-31 days of incubation. Usually they themselves peck at the shell walls and emerge from the egg. This is what happens with the bulk of the chicks, but some are in no hurry to be born.Until the 31st day, you do not need to help the chicks, if you speed up the hatching by artificial means, they may die.
If the deadlines have passed, and the goslings have not hatched, you need to help them: carefully pierce the shell so that air can penetrate the chicks. You cannot completely remove the shell. Then they will do everything themselves. Breeding goslings in an incubator can only be successful if the rules are followed. It is necessary not only to prepare the material, store it until bookmark, but also maintain the correct temperature and humidity in the incubator. Errors will lead to the death of embryos and a decrease in the percentage of hatchability for goslings.