A detailed table of the stages of incubation of Indook at home and the mode
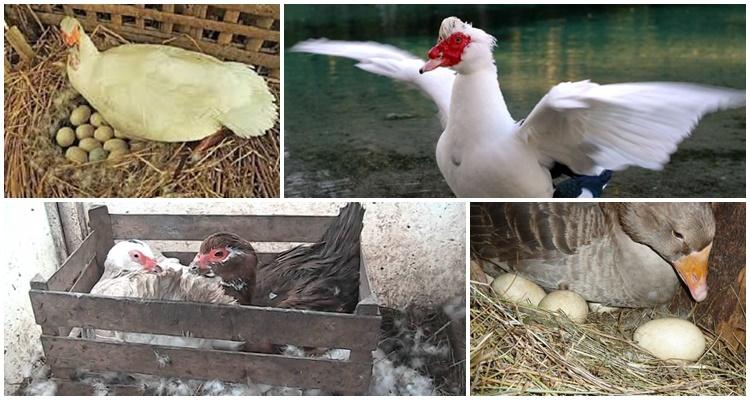
To obtain a large number of full-fledged healthy offspring in households and on poultry farms, it is necessary to use the incubation of Indo-duck eggs. With a small number of poultry, brooders can also incubate, but this method cannot ensure stable hatching of chicks and obtain a large number of them, especially since not all mute birds show the incubation instinct.
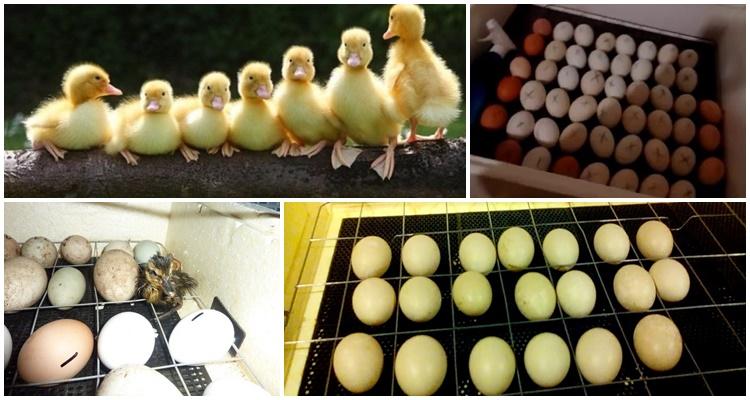
Selection of suitable equipment
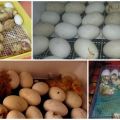
For breeding ducklings in an incubator, models are selected according to their basic characteristics. For growing in a home garden, the device can be the simplest, the main thing is that it maintains a constant temperature regime suitable for Indo-duck eggs. For this purpose, the incubator must be equipped with a thermostat and a special container with water that provides the required level of humidity.
In simple incubators, the eggs must be turned manually. They also use natural ventilation, which is necessary for the exchange of gases in the tank. Often, the simplest incubators are boxes with holes in the walls, with a tray of water and an incandescent lamp inside. They contain about a dozen duck eggs, and it is extremely difficult to observe the correct regime.
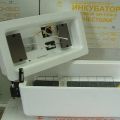
More sophisticated devices include electronic control of humidity and temperature, as well as devices for automated turning of masonry, forced ventilation, which eliminates overheating and removes excess carbon dioxide.
One of the popular options is the Blitz incubator series. They are available in a dozen variations, provide hatching of up to 98% of laid eggs, and are supplied with detailed instructions. The manufacturer has been working in this market for 23 years, is engaged in the manufacture, maintenance and repair of incubators, gives a guarantee of up to 3 years for a number of models.
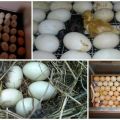
Egg selection and storage
Its success depends on how competently the eggs are selected for incubation. To do this, the following conditions must be met:
- Wash hands thoroughly before collecting eggs for the incubator. Do not use scented detergents.
- Collect eggs laid in the morning until 6 pm.
- Pick up eggs with two fingers, grasping opposite parts so as not to damage the film covering them.
- Incubation eggs should not be stored for more than 8 days. With longer storage, the rate of successful hatching of chicks will steadily fall.
- Choose eggs weighing 70-80 grams, oval in shape, with an even, smooth shell without spots and damage.
- They must be fertilized. The drake should be with the ducks a month before the planned incubation of the Indo-Ducks.
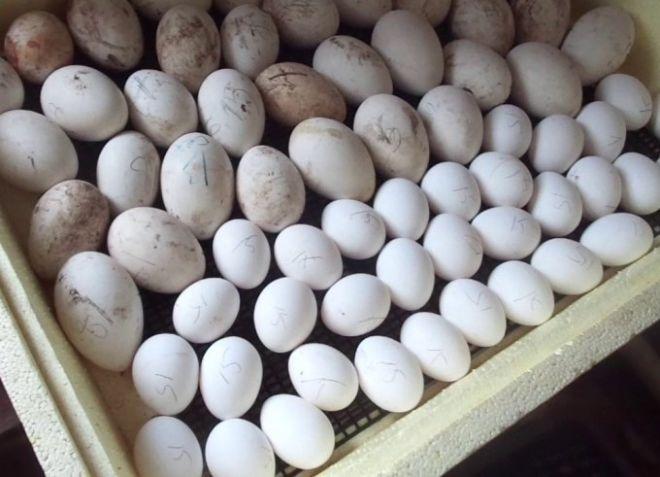
- Before placing in the incubator, check the masonry in an ovoscope.The yolk should be in the middle, the air chamber should be formed.
- Lay eggs in the incubator horizontally, large eggs 3-5 hours earlier than smaller ones.
- Do not wash eggs, but choose clean ones. To avoid contamination, change the litter in the nest more often.
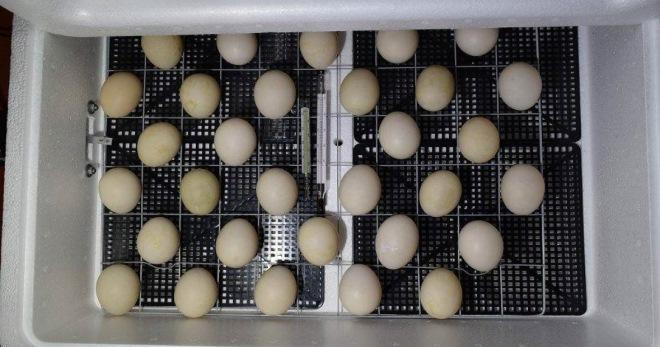

When using an incubator at home, you need to select eggs from the best producers, this will help you get strong and healthy offspring.
Stages of incubation of indoutine eggs
Indoor incubation lasts 32 days. The entire incubation period is divided into 4 stages. Each of them is characterized by its own temperature and humidity conditions, which must be observed. Airing is also of great importance, especially during the hatching of Indo-ducks, when the air temperature rises due to the heat of their body.
| Stage | Timing | Temperature, degrees Celsius | Moisture level,% | Flip frequency | Airing |
| The first | From 1 to 16 days | 38 | 60 | 4 times a day | Once a day, 5 minutes |
| Second | From 17 to 27 days | 37,5 | 52 | 4 times a day | Twice a day for 20 minutes |
| Third | From 28 to 29 days | 37,3 | 70 | – | Once a day for 10 minutes |
| Fourth | 30 to 31 days | 37 | 70 | – | – |
In order to avoid problems when incubating duck eggs, it is better to use a special schedule, in which all the details are detailed for beginners by day. This approach will provide the most comfortable conditions for future Indo-female chicks and will help to bring out the largest number of them in one incubation.
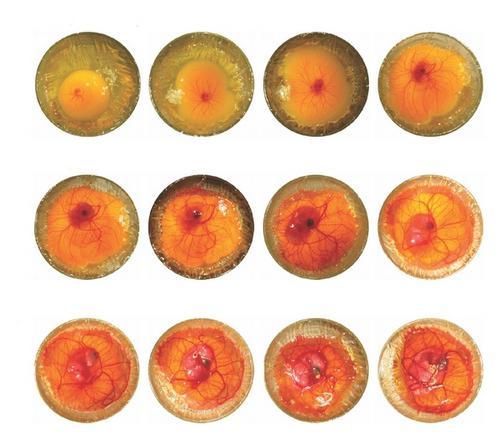
Control of embryo development
To obtain a healthy brood, it is not enough just to use the instructions. Each stage of incubation must be controlled. For these purposes, an ovoscope is used:
- After the first 7 days of the process, the blood vessels of the embryo become visible. Inside, the surface turns pink, with movement visible shadows from a developing embryo. If there are no signs of life, the Indo-Duck egg must be removed.
- At the end of the second week, a fully formed duck embryo should be visible. If there are no signs of life, the egg is removed.
- The last transillumination is carried out 48 hours before hatching. In this case, only the air chamber should be visible.
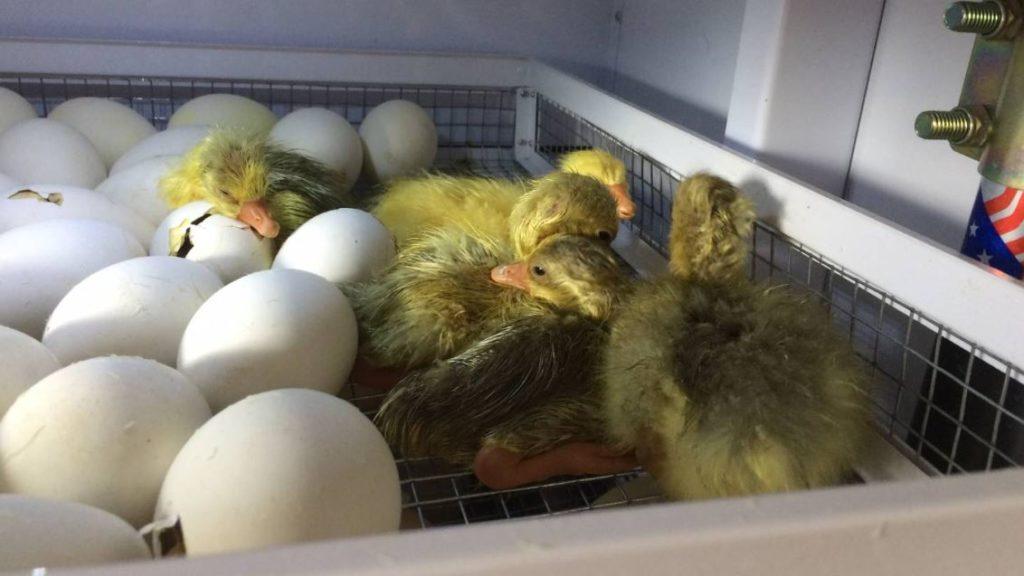
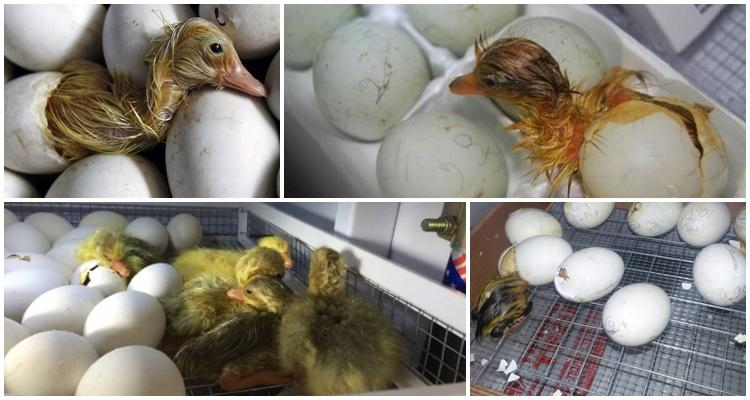
When the ducklings hatch, their down is still wet. They can be removed from the incubator only after drying.
Hatching ducklings
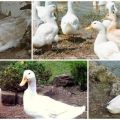
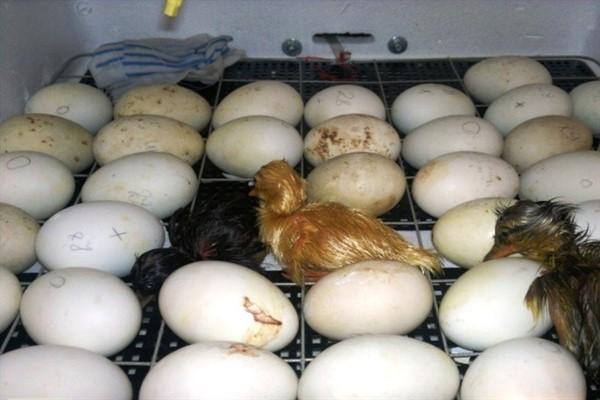
The process of incubating Indo-Ducks is almost the same as breeding geese. On the 30th day, pecking of the first chicks begins. At this time, you need to increase the humidity - it helps to make the shell looser, which will help the duckling to get out.
On day 32, almost all chicks hatch, and finally the process ends on day 34 or 35. At first, after incubation, the ducklings are still wet and lie in or near the shell, so the air temperature is gradually reduced from 35 to 28 degrees.
Indoor chicks start feeding immediately after drying. In nature, ducklings begin to feed very quickly, since the supply of nutrients from the egg has already been exhausted. The first meal usually consists of boiled chopped yolk, herbs and boiled millet.
Possible mistakes
Breeding poultry with the help of an incubator gives a greater yield of healthy, full-fledged chicks than incubating them under a brood hen. In the event that the farm has a dozen indoor dogs, it is unprofitable to purchase an incubator. If there are a lot of birds, then this will be a practical solution.
However, you will need to strictly follow the device manufacturer's recommendations and incubation guidelines. Useful advice from experienced specialists will not be superfluous.
The most common mistakes newbies make when using an Indoor Incubator are:
- Temperature violations.
- Changes in humidity, dry air during hatching of chicks.
- Lack of ventilation or insufficient air intake.
- Irregular egg turning.
- Mixed laying in an incubator of eggs of Indo-duck and other birds.
- Use for incubating dirty eggs.
- Violation of hygiene rules.
- Wrong choice of eggs.
For the cultivation of Indo-females, it is important to comply with the requirements of technology, as well as the use of exceptional material for incubation. Even violation of a single point can lead to a decrease in the yield of chicks. A careful and careful approach is a condition for obtaining up to 95-98% of hatched ducklings. Then the livestock of Indo-ducks will steadily increase, bringing profit to the owners.